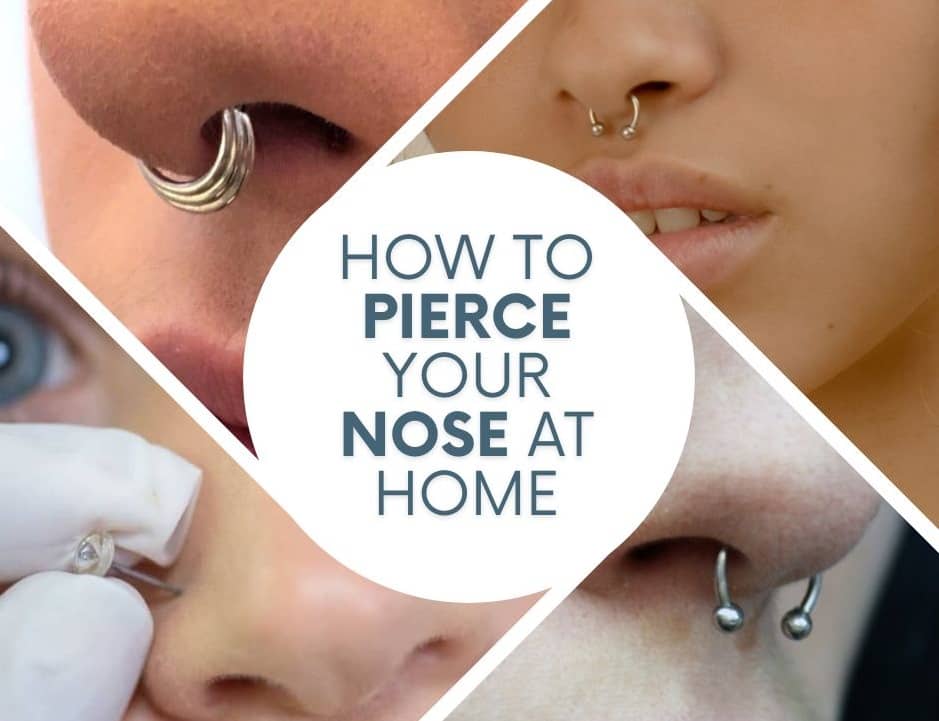
DIY Nose Piercing: A Comprehensive Guide about how to pierce your nose at home

Nose piercings have become a popular form of self-expression, allowing individuals to showcase their unique style and personality. While it’s always recommended to consult a professional piercer for safe and hygienic procedures, some people may consider piercing their nose at home. If you’re thinking about taking this path, it’s crucial to prioritize safety and follow proper techniques to minimize the risk of complications. In this article, we provide a comprehensive guide on how to pierce your nose at home while prioritizing safety and offering essential tips for a successful experience.
Understanding the Risks
Before embarking on a DIY nose piercing journey, it’s important to understand the potential risks involved. Home piercings can lead to infections, excessive bleeding, scarring, and other complications if not done correctly.
Additionally, improper technique and inadequate sterilization can result in allergic reactions and prolonged healing times. It’s vital to assess your readiness and consider the possibility of seeking professional assistance to ensure a safe and successful nose piercing experience.
Preparing for the Piercing
Proper preparation is key to minimizing risks and ensuring a clean environment for the piercing process. Here are some essential steps to follow:
- Research and Educate Yourself: Familiarize yourself with the anatomy of the nose, different piercing styles, and aftercare requirements. Knowledge is crucial for a safe and successful piercing.
- Gather the Right Tools: Acquire sterile piercing needles, jewelry (preferably made of surgical-grade stainless steel), antiseptic solution, gloves, clean towels, and disposable items for a hygienic environment.
- Sanitize and Cleanse: Thoroughly wash your hands with soap and water before handling any piercing equipment. Disinfect the piercing site with an antiseptic solution and ensure a clean working area.
How to pierce your nose at home
While we strongly recommend seeking professional help for piercings, if you decide to proceed with a DIY nose piercing, follow these steps:
- Marking the Spot: Use a sterile pen or a piercing marker to mark the desired spot on your nose accurately. Ensure you’re happy with the placement and symmetry before proceeding.
- Numbing the Area: Consider applying a topical numbing cream to minimize discomfort during the piercing process. Consult a pharmacist or healthcare professional for appropriate options.
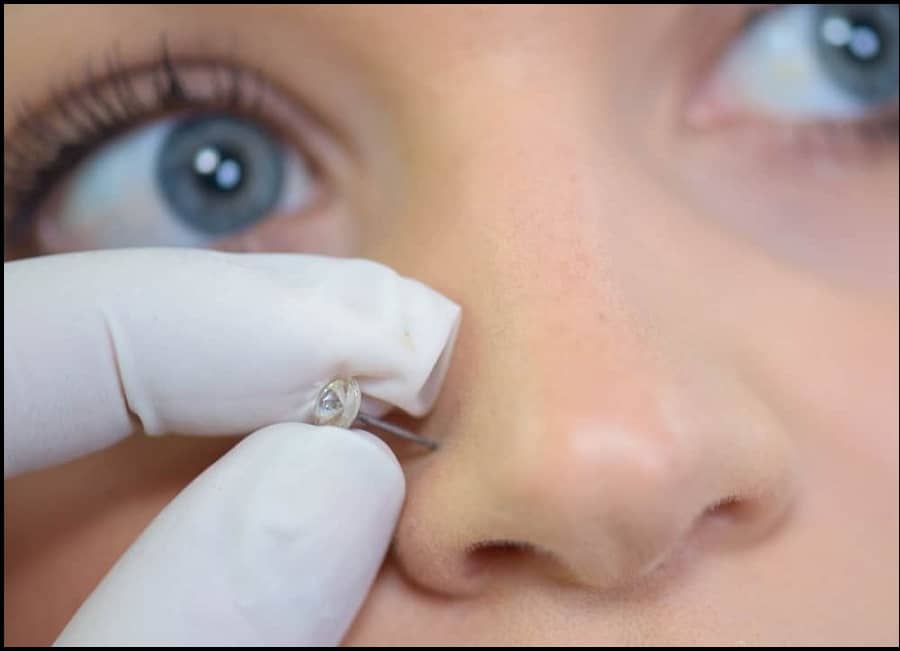
- Inserting the Needle: Carefully sterilize the piercing needle and your hands. Hold the needle firmly, align it with the marked spot, and swiftly push it through the nose. Take a deep breath and remain calm throughout the process.
- Inserting the Jewelry: Once the needle is through, swiftly insert the jewelry into the piercing hole. Gently secure it in place, ensuring it sits comfortably and doesn’t irritate the surrounding area.
Aftercare and Healing
Proper aftercare is essential to promote healing and prevent infections. Follow these guidelines:
- Cleanse the Piercing: Cleanse the pierced area twice a day with a saline solution or a sea salt mixture to keep it free from bacteria and promote healing.
- Avoid Touching: Refrain from touching the piercing with dirty hands, and avoid twisting or turning the jewelry, as it can lead to irritation and prolong healing time.
- Be Mindful of Clothing and Cosmetics: Avoid wearing tight clothing or using cosmetics around the piercing site, as they can introduce bacteria or cause irritation.
- Monitor for Infections: Watch for signs of infection, such as excessive redness, swelling, pain, or discharge. If any complications arise, seek medical attention immediately.
Piercing your nose at home is a decision that should be approached with caution. While it’s crucial to prioritize safety and hygiene, seeking professional assistance is always recommended. Remember, a poorly executed nose piercing can lead to severe complications. However, if you know how to pierce your nose at home and choose to proceed with a DIY approach, ensure thorough research, proper preparation, and meticulous aftercare to minimize risks and promote a successful healing process.

